Asynchronous Tasks with FastAPI, ARQ and Frontend
This post is a continuation of our previous post Asynchronous Tasks with FastAPI and ARQ. Think of this as the part 2, as most typical web projects the background tasks are often used and connected to a fronted UI. We will make a simple HTML UI + JavaScript to monitor the background tasks in real time.
You will need the project setup, virtualenv, our FastAPI (app/main.py) and arq worker script (app/worker.py).
Make sure that everything’s running and setup. If not, check back the previous post and come back here once everything’s working.
cd fastapi-arq
source ./venv/bin/activate
uvicorn app.main:app --reload
arq app.worker.WorkerSettings
Open a new terminal and change into the fastapi-arq directory and activate the virtualenv, then run our FastAPI app uvicorn app.main:app --reload.
Open another terminal, change into the directory and activate the virtualenv, then run our arq worker arq app.worker.WorkerSettings.
Let’s now build our simple html frontend. We will be showing an html template to the user along with the staticfiles ie. JavaScript/CSS/images etc. We will be using Jinja2 for our template engine, make sure you have activated your virtual environment and install Jinja2.
pip install Jinja2==3.1.2
Then create directories and new files that we will use later.
mkdir app/templates
touch app/templates/home.html

mkdir app/static
mkdir app/static/css
mkdir app/static/js
touch app/static/js/main.js
Update the content of app/static/js/main.js with below code:
document.addEventListener('DOMContentLoaded', (event) => {
  console.log('page loaded.');
});
And the app/templates/home.html file content with below:
<!doctype html>
<html lang="en">
  <head>
    <meta charset="utf-8">
    <meta name="viewport" content="width=device-width, initial-scale=1">
    <link rel="stylesheet" href="https://unpkg.com/@picocss/pico@1.5.7/css/pico.min.css">
    <title>FastAPI + Redis + arq</title>
  </head>
  <body>
    <main class="container">
      <h1>FastAPI + Redis + arq</h1>
    </main>
    <script type="text/javascript" src="{{ url_for('static', path='/js/main.js') }}"></script>
    <script src="https://cdn.jsdelivr.net/npm/axios/dist/axios.min.js"></script>
  </body>
</html>
We are using a minimal css framework Pico CSS for this tutorial to keep things simple, also we will be using a JavaScript library called Axios for making an http requests via the browser.
Update our main.py with the below code:
import random
import asyncio
from fastapi import FastAPI, Request
from fastapi.responses import HTMLResponse
from fastapi.staticfiles import StaticFiles
from fastapi.templating import Jinja2Templates
from pydantic import BaseModel, Field
from arq.connections import RedisSettings
from arq.connections import ArqRedis, create_pool

app = FastAPI()
app.mount("/static", StaticFiles(directory="app/static"), name="static")
templates = Jinja2Templates(directory="app/templates")

class TaskModel(BaseModel):
    count: int = Field(
        title="How many tasks to generate? (1 to 100)", ge=1, le=100)

async def create_task(ctx, sleep_time: int):
    await asyncio.sleep(sleep_time)

@app.get("/", response_class=HTMLResponse)
async def index(request: Request):
    return templates.TemplateResponse('home.html', {'request': request})

@app.post("/task", status_code=201)
async def task(task: TaskModel):
    queue: ArqRedis = await create_pool(RedisSettings())
    for i in range(task.count):
        await queue.enqueue_job('create_task', random.randint(1, 10))
    return {"queued": task.count}
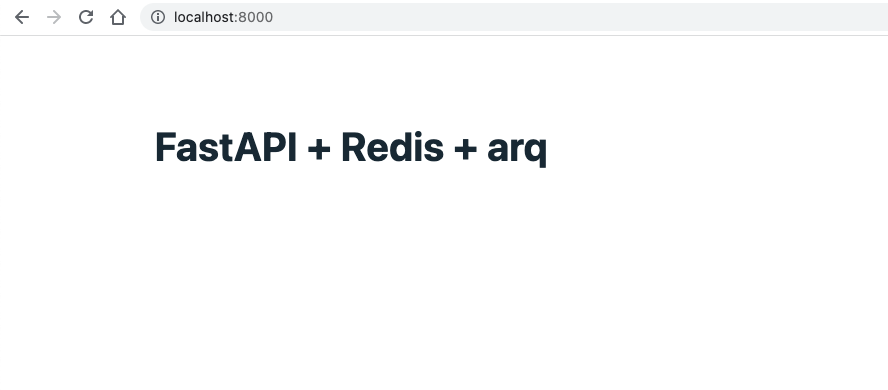
With the files in place, let’s run the app to render the home page. The page should be rendered like this image.
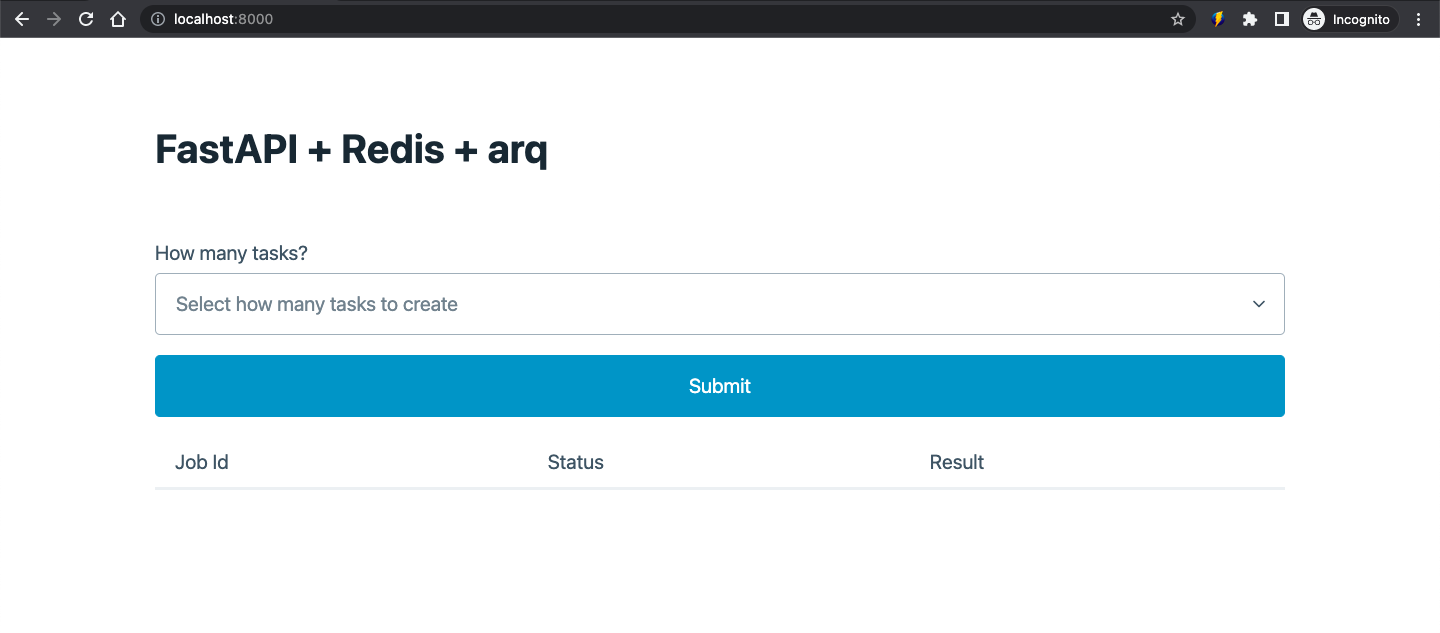
Great! Now for the UI part, we will make a form that has a dropdown field that will allow the user to select a number from 1 to 100. The selected number will be the number of tasks or workers that will be created.
We also need a submit button to submit the form. Once the form is submitted, in the background the tasks will perform some work in this case it will sleep for an certain amount of time in seconds then the task will finish and its status and result will be displayed in the fronted - thus we need a html table with Job Id, Status and Result columns.
Update the home.html template with the following:
<!doctype html>
<html lang="en">
  <head>
    <meta charset="utf-8">
    <meta name="viewport" content="width=device-width, initial-scale=1">
    <link rel="stylesheet" href="https://unpkg.com/@picocss/pico@1.5.7/css/pico.min.css">
    <title>FastAPI + Redis + arq</title>
  </head>
  <body>
    <main class="container">
      <h1>FastAPI + Redis + arq</h1>
      <form method="post" action="." id="tasks_form">
        <label for="tasks">How many tasks?</label>
        <select id="tasks" required>
        <option value selected="selected">Select how many tasks to create</option>
        {% for i in range(1, 101) %}
        <option>{{i}}</option>
        {% endfor %}
        </select>
        <button type="submit">Submit</button>
      <form>
      <progress id="task-progress" style="display:none;"></progress>
      <table id="table-status" role="grid">
        <thead>
          <tr>
            <th scope="col">Job Id</th>
            <th scope="col">Status</th>
            <th scope="col">Result</th>
          </tr>
        </thead>
        <tbody>
        </tbody>
      </table>
    </main>
    <script src="https://cdn.jsdelivr.net/npm/axios/dist/axios.min.js"></script>
    <script type="text/javascript" src="{{ url_for('static', path='/js/main.js') }}"></script>
  </body>
</html>
The home page should now look like this.
Our fronted UI is ready. When our backgrund tasks are running we need to have a way to get their job details such as
status, result etc. With ARQ this is fairly easy to implement. We can get a reference to a Job via the job_id, then we can
get its result or status.
job = Job(job_id=job_id, redis=queue)
Update our main.py with the following. Take note of the get_task(job_id: str) function, we will call it via JavaScript!
import random
import asyncio
from fastapi import FastAPI, Request
from fastapi.responses import HTMLResponse
from fastapi.staticfiles import StaticFiles
from fastapi.templating import Jinja2Templates
from pydantic import BaseModel, Field
from arq.connections import RedisSettings
from arq.connections import ArqRedis, create_pool
from arq.jobs import Job, JobStatus

app = FastAPI()
app.mount("/static", StaticFiles(directory="app/static"), name="static")
templates = Jinja2Templates(directory="app/templates")

class TaskModel(BaseModel):
    count: int = Field(
        title="How many tasks to generate? (1 to 100)", ge=1, le=100)

async def create_task(ctx, sleep_time: int):
    await asyncio.sleep(sleep_time)
    return sleep_time

@app.get("/", response_class=HTMLResponse)
async def index(request: Request):
    return templates.TemplateResponse('home.html', {
        'request': request,
        'min': 1,
        'max': 100,
    })

@app.get("/task/{job_id}")
async def get_task(job_id: str):
    queue: ArqRedis = await create_pool(RedisSettings())
    job = Job(job_id=job_id, redis=queue)
    status = await job.status()
    result = await job.result()
    return {
        'job_id': job_id,
        'status': status,
        'result': result,
    }

@app.post("/task", status_code=201)
async def task(task: TaskModel):
    queue: ArqRedis = await create_pool(RedisSettings())
    task_ids: list = []
    for i in range(task.count):
        job = await queue.enqueue_job('create_task', random.randint(1, 10))
        task_ids.append(job.job_id)
    return {
        "queued": task.count,
        "task_ids": task_ids,
    }
So our HTML fronted is ready. We now have a task() api to create tasks, we can also get a task via a task id or job id.
Let’s now implement the JavaScript codes that will tie the fronted to the backend.
Update the main.js file with the content below:
document.addEventListener('DOMContentLoaded', (event) => {
    console.log('page loaded.');

    const form = document.getElementById('tasks_form');
    const tasks = document.getElementById('tasks');

    function getTaskStatus(JobId) {
        axios.get(`/task/${JobId}`)
            .then(function(resp){
                if (resp.data.status === 'complete' || resp.data.status == 'not_found') {
                    const tableRow = `
                    <tr>
                      <td>${resp.data.job_id}</td>
                      <td>${resp.data.status}</td>
                      <td>${resp.data.result}</td>
                    </tr>
                    `;
                    const newRow = document.getElementById('table-status').insertRow(1);
                    newRow.innerHTML = tableRow;
                    return false;
                }

                setTimeout(function(){
                    getTaskStatus(resp.data.job_id);
                }, 1000);

            });
    }

    function createTasks(count) {
        axios.post('/task', {
            count: count
        })
        .then(function(response){
            const jobIds = response.data.task_ids;
            let results = [];

            jobIds.forEach(function(item){
              results.push(getTaskStatus(item));
            });

            Promise.all(results)
                .catch(function(error){
                      console.log(error);
                });
        })
        .catch(function(error){
            console.log(error);
        });
    }

    form.addEventListener('submit', (evt) => {
        evt.preventDefault();
        const count = tasks.value;
        createTasks(count);
    });
});
So basically what this JS does is that it will listen for the form submit event, get the the value of the dropdown and
create the tasks then it will poll the get_tasks() api every 1 second to get the the task status via job_id.
Once the task status is complete or not found it will then display the job id, status and results in the frontend table.
You can play around with the complete project in the Github Repo or Watch the finished version in action!