Asynchronous Tasks with FastAPI and ARQ
This post describes how to setup FastAPI with an async task queues for handling long-running processes in the background or outside the context of an http request.
If you already know that FastAPI has a
Background Tasks service,
you might be asking: why do we need another async task queue? Well, Background Tasks is pretty much lightweight.
It does not provide an api to get task results, statuses and infos which are a necessity in building dynamic or
interactive UI such as getting task status via JavaScript and showing it to the user in a dashboard or page.
Celery and Python RQ are popular tools for synchronous background tasks in a Python project.
Since we are using an async web framework FastAPI, we can not use those.
For this tutorial we will be using an async library called arq and this works with redis!
arq bills itself as a simple, modern and performant successor to rq.
With these things cleared up, we now proceed to setup the project structure. Create a directory called fastapi-arq.
cd into it and inside create a new directory app. Then create 3 new files inside the app directory.
mkdir fastapi-arq
cd fastapi-arq
mkdir app
touch app/__init__.py app/main.py app/worker.py
With these the app directory is now a python module which contain the main.py and worker.py files.
While inside the fastapi-arq directory let’s create a new python virtual environment for our project dependencies.
So create the virtual environment, activate it and install requirements.
python3 -m venv venv
source ./venv/bin/activate
pip install fastapi==0.89.1 redis==4.4.2 arq==0.25.0 "uvicorn[standard]"
Save below code into app/main.py.
from fastapi import FastAPI

app = FastAPI()

@app.get("/")
async def index():
    return {"message": "Hello, world!"}
Then run the app with uvicorn in development mode.
uvicorn app.main:app --reload
Or you can create a simple bash script run.sh to run it, it will save you time when developing.
#!/bin/bash
uvicorn app.main:app --reload
The chmod +x command will make the file run.sh an executable so you can run it like ./run.sh.
chmod +x ./run.sh
./run.sh
With uvicorn server running, visit http://127.0.0.1:8000 and if all goes well, you will be greeted with json response with a “Hello, world!” message on it.

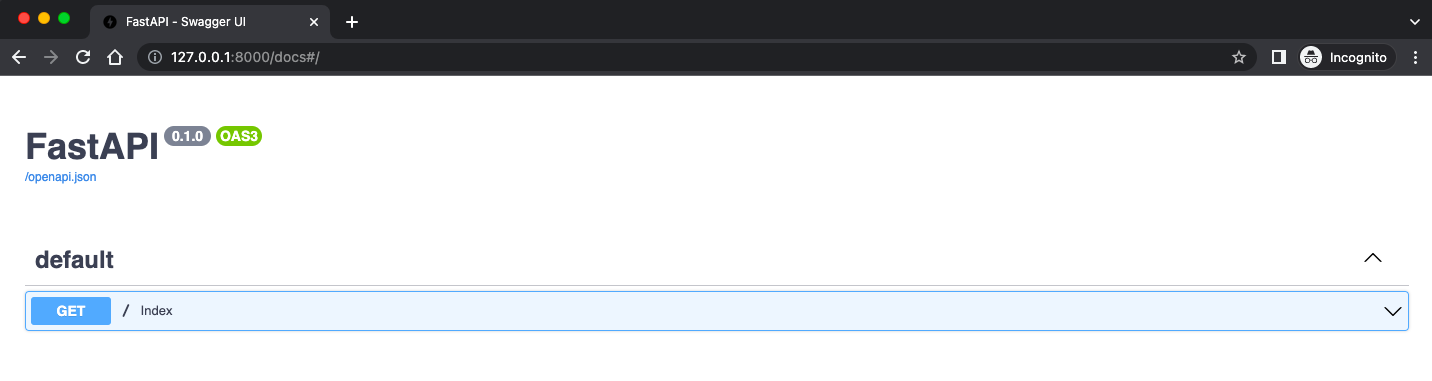
And the interactive API documentation provided by swagger ui. Visit http://127.0.0.1:8000/docs
We will now implement a simple app that just create and enqueue background tasks.
The worker then receives these tasks and run them. Update main.py with the below code.
import random
import asyncio
from fastapi import FastAPI
from pydantic import BaseModel, Field
from arq.connections import RedisSettings
from arq.connections import ArqRedis, create_pool

app = FastAPI()

class TaskModel(BaseModel):
    count: int = Field(
        title="How many tasks to generate? (1 to 100)", ge=1, le=100)

async def create_task(ctx, sleep_time: int):
    # long-running computation here
    await asyncio.sleep(sleep_time)

@app.get("/")
async def index():
    return {"message": "Hello, world!"}

@app.post("/task", status_code=201)
async def task(task: TaskModel):
    queue: ArqRedis = await create_pool(RedisSettings())
    for i in range(task.count):
        await queue.enqueue_job('create_task', random.randint(1, 10))
    return {"queued": task.count}
The important thing to note here is the /task endpoint that receives the POST request.
Here we created TaskModel which is a pydantic model that has a count integer field.
It also has a Field validation that checks if the count value is between 1 to 100 inclusive.
We then iterate to the received count value and enqueue a task receiving the create_task function
and a random number between 1 to 10. This random number will be used by the create_task function to sleep
or in the real world (perform a heavy computation etc.)
The worker.py implementation is pretty much straightforward. We import the functions that will be used by the task, create_task.
Then create a class with worker settings that will be used when instantiating arq.worker.Worker class.
from arq.connections import RedisSettings
from app.main import create_task

async def startup(ctx):
    pass

async def shutdown(ctx):
    pass

FUNCTIONS: list = [
    create_task,
]

class WorkerSettings:
    on_startup = startup
    on_shutdown = shutdown
    redis_settings = RedisSettings()
    functions: list = FUNCTIONS
It’s time to run the app. Make sure you are in the fastapi-arq directory and you have activated the python virtualenv venv
we created at the start. Open a terminal an run uvicorn app.main:app --reload or ./run.sh if you made it as a bash script.
Then open another terminal and run the worker arq app.worker.WorkerSettings.

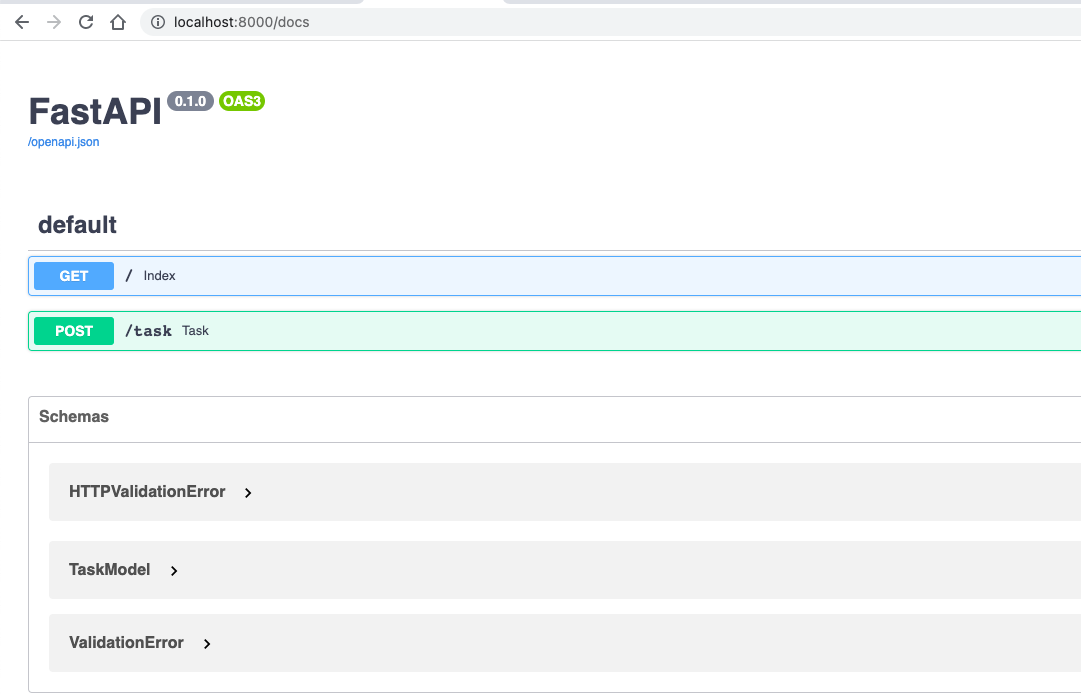
With the worker running, let’s use the FastAPI interative api docs to test it. Visit http://127.0.0.1:8000/docs.
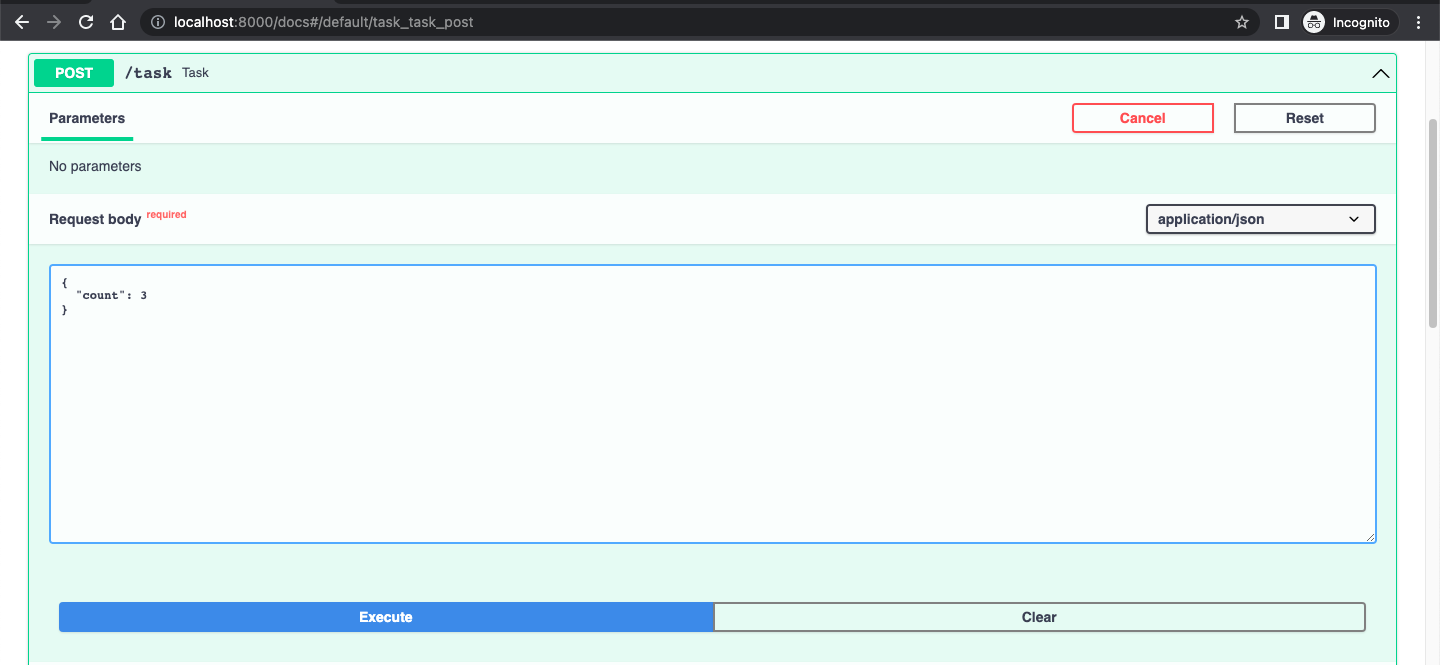
Expand the /task endpoint and click the Try it out button.
Replace the count input with any value between 1 to 10 and click Execute button. Supplying an integer
value outside of this range will result to an validation error.
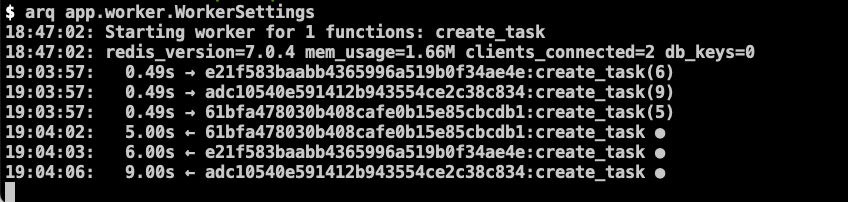
Head back to the worker tab in terminal and you can see the tasks in action!
This concludes the tutorial. Read the arq documentation to learn more.